By installing this part, you agree to take full responsibility for any and all legal, health and warranty consequences that may be incurred.
- Clear your rifle, ensure the chamber, magazine and bolt face is free of all ammunition Failure to do so may result in Death or serious injury.
- Prepare your work area, clean and tidy an appropriate work surface to avoid loss or damage of small parts.
- Gather required tooling, the required tooling will vary from firearm to firearm and your personal preference however you may require.
- Bits and bit driver, suitable for removing your action screws.
- Pin punch, sized appropriately for removing sear and trigger pins as required.
- Hammer
- Small common screw driver.
- Needle nose pliers.
- Circlip pliers.
- Allen keys.
- Safety Glasses.
- Loctite 222, or nail polish maybe required for some firearms.
Note. During this procedure take care not to lose any small parts, pins bolts screws etc. Place them in a suitable container such as a zip-lock bag or parts bowl.
- Remove the bolt and magazine from your rifle, if fitted and set them aside.
- Remove you barrel and action from the stock, by unfastening the action screws and set your stock aside.
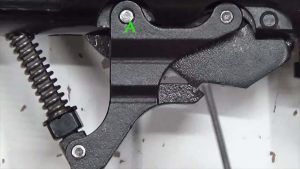
- Remove rear pin from trigger mechanism (item A).
- Pull trigger down and slightly forward to remove trigger return spring.
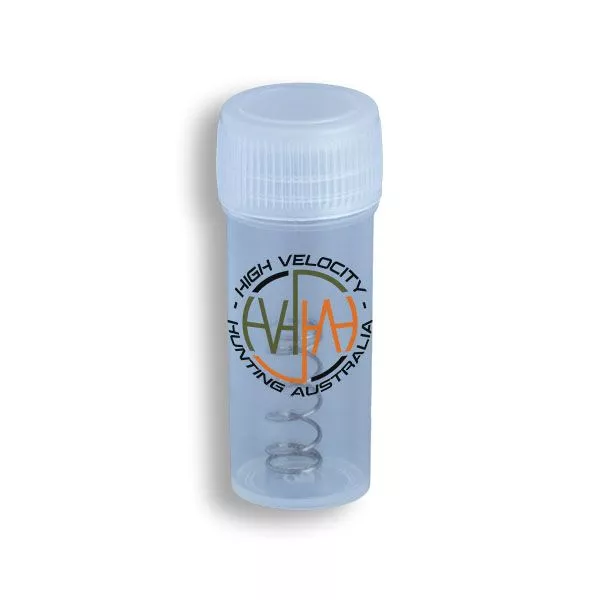
- Replace trigger spring, with HVHA spring provided.
- Assemble in reverse order.
- The last step is a function test, to make sure your rifle is in good working order. Place weapon on safe, pull the trigger. Then place on fire and feel the improvement.