November 28, 2024
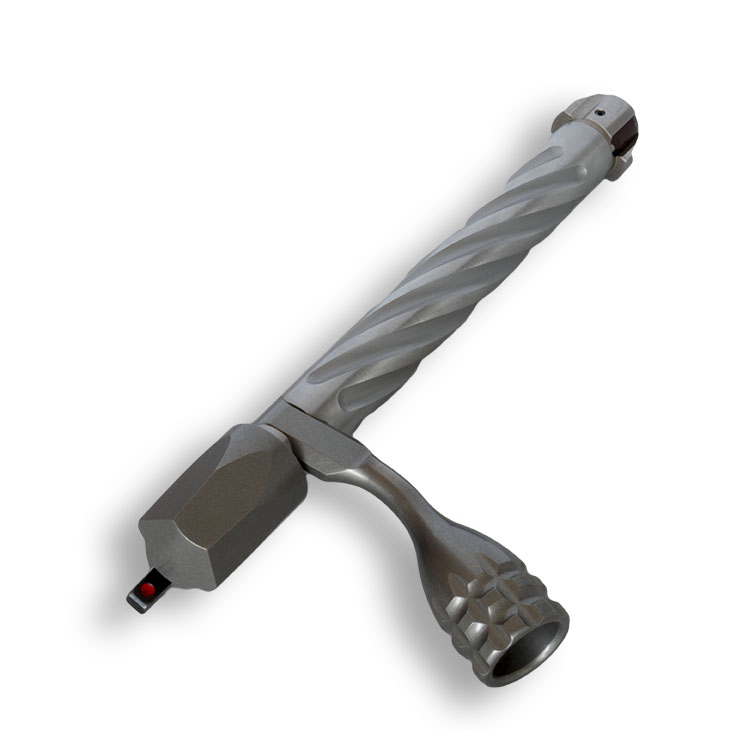
How to Disassemble and Reassemble a Tikka Rifle Bolt
Disassembly:
- Ensure Safety
- Verify the rifle is unloaded. Check both the chamber and magazine to confirm no ammunition is present.
- Remove the bolt by pressing the bolt release lever on the side of the receiver and pulling the bolt backward.
- Remove the Bolt Shroud
- Turn the bolt shroud clockwise (for standard models) or counterclockwise (for left-handed models) until it stops.
- Pull the bolt shroud away from the bolt body.
- Position a Screwdriver
- Insert the tip of a screwdriver (approximately 3mm wide) into the gap between the cocking piece and the bolt handle retainer bushing.
- Important: Keep the screwdriver in place during this step to avoid misalignment of parts.
- Disengage the Firing Pin Assembly
- Turn the screwdriver counterclockwise (for standard models) or clockwise (for left-handed models) to disengage the firing pin assembly.
- Push the firing pin assembly forward until the locking cam of the handle retainer bushing touches the rear surface of the bolt.
- Remove the Bolt Handle
- Pull the bolt handle out of the bolt body.
- If the bolt handle is stiff, lightly tap the receiver end of the handle with a plastic mallet.
- Remove the Firing Pin Assembly
- Slide the firing pin assembly out of the bolt.
- Note: For cleaning purposes, no further disassembly is required.
Reassembly:
- Reinsert the Firing Pin Assembly
- Push the firing pin assembly into its position inside the bolt. Ensure the bolt handle retainer bushing is correctly aligned for smooth reinsertion of the bolt handle.
- Reattach the Bolt Handle
- Slide the bolt handle into place on the bolt body.
- Re-engage the Firing Pin Assembly
- Use the screwdriver to turn clockwise (for standard models) or counterclockwise (for left-handed models) until the retainer bushing locks the handle securely.
- Install the Bolt Shroud Spring
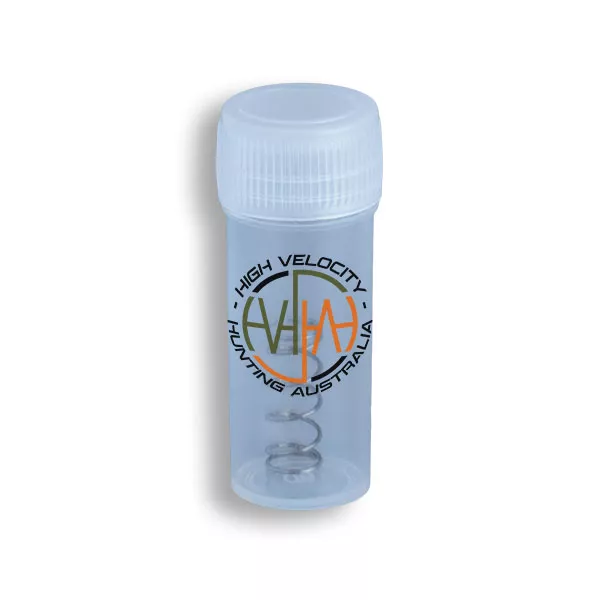
- Place the conical spring into the bolt shroud.
- Ensure the spring end (A) does not rest on the firing pin groove area (B). The spring helps prevent noise from the bolt shroud.
- Reattach the Bolt Shroud
- Attach the bolt shroud (with the spring inside) to the bolt body.
- Turn it counterclockwise (for standard models) or clockwise (for left-handed models) until the cocking piece head stops in the notch before the cocking slope.
- Reinsert the Bolt into the Rifle
- Slide the bolt back into the receiver, ensuring smooth operation.
For a visual guide on this process, you may find the following video helpful:
Always refer to the official Tikka T3x user manual for detailed instructions and safety information. If you are uncertain at any step, consult with a qualified gunsmith to ensure proper handling and maintenance of your firearm.


Other Guides

July 2, 2023
Lithgow Arms LA101 Trigger Spring Installation
Clear your rifle, ensure the chamber, magazine and bolt face is free of all ammunition Failure to do so may result [...]

January 2, 2024
CZ 452, CZ 455, BRNO 2, 4, and 5 Trigger Spring
By installing this part, you agree to take full responsibility for any and all legal, health and warranty consequences that [...]

November 28, 2024
How to Disassemble and Reassemble a Tikka Rifle Bolt
Disassembly: Ensure Safety Verify the rifle is unloaded. Check both the chamber and magazine to confirm no ammunition is present. [...]


